Paint Bubbling on Walls: Why It Happens and How to Fix It
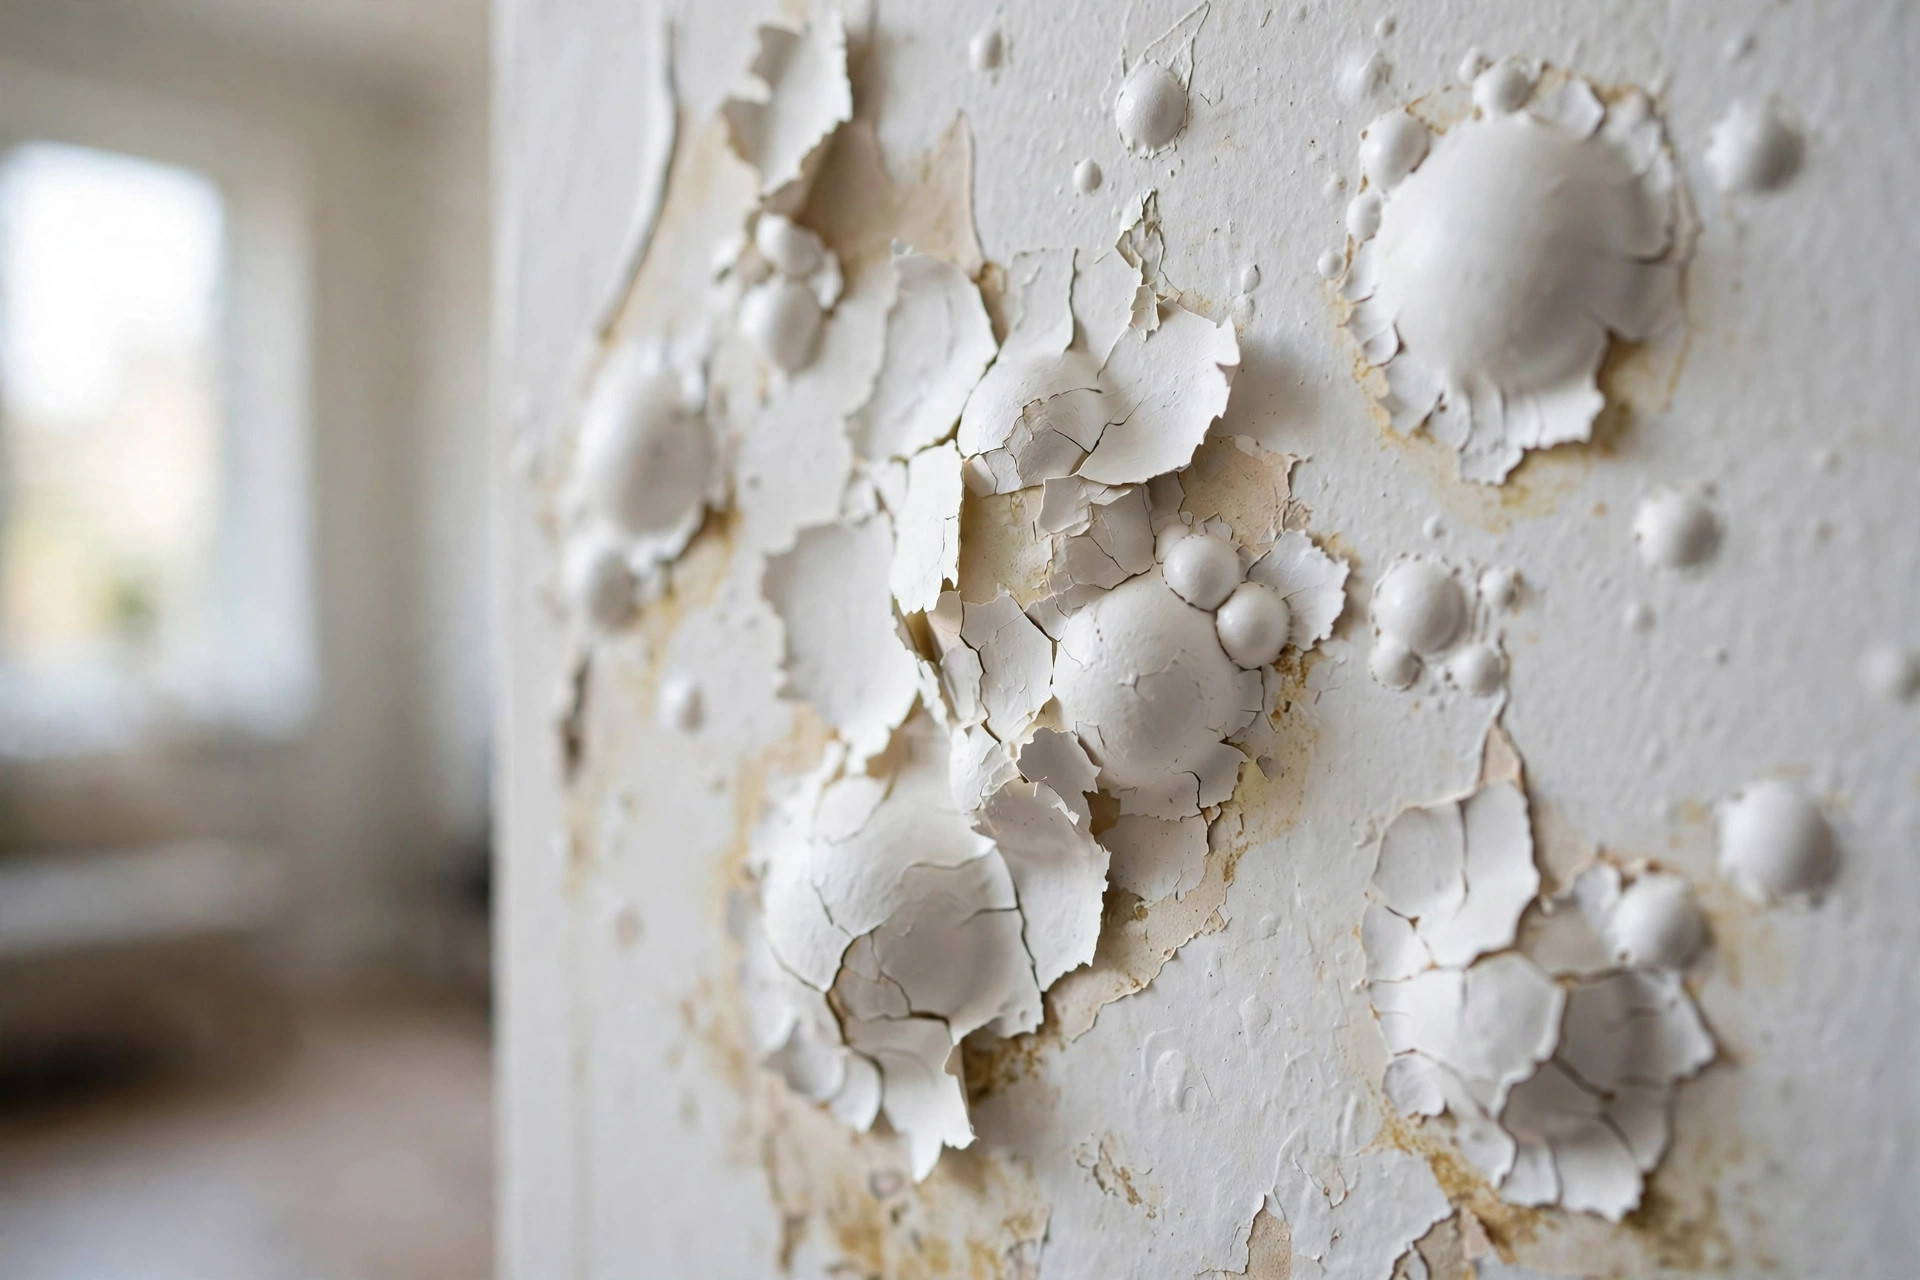
Finding paint bubbling on walls is one of the most frustrating things for any homeowner. You finish painting a room, step back to look at your fresh colours, and suddenly spot swollen blisters under the surface. In other cases, you might live in a home for months or even years before an ugly blister pops up out of nowhere.
Understanding how to fix paint bubbling on walls starts with knowing why the paint film lifted off the wall. Whether you are dealing with fresh paint bubbling on wall surfaces or older blisters that started peeling, you must remove the bad paint, solve the hidden cause, and prepare the surface properly. If you skip the prep work, any new paint you apply will quickly bubble and peel off again.
Key Takeaways
- Bubbling happens when paint loses grip: The paint film pulls away from the wall underneath because of trapped moisture, grease, or poor prep.
- Never paint straight over bubbles: Adding fresh paint over an air bubble does not hide it. The new coat will crack and make the problem twice as big.
- Check what is under the blister: If you scrape a bubble and find bare plaster or GIB board, moisture is the usual cause. If you see an older paint coat, poor adhesion or skipped primer is to blame.
- Fix the root cause first: If a leaking pipe, high room humidity, or cold winter condensation caused the bubble, dry out the wall completely before picking up a paintbrush.
What Is Paint Bubbling? (Bubbling vs Blistering)
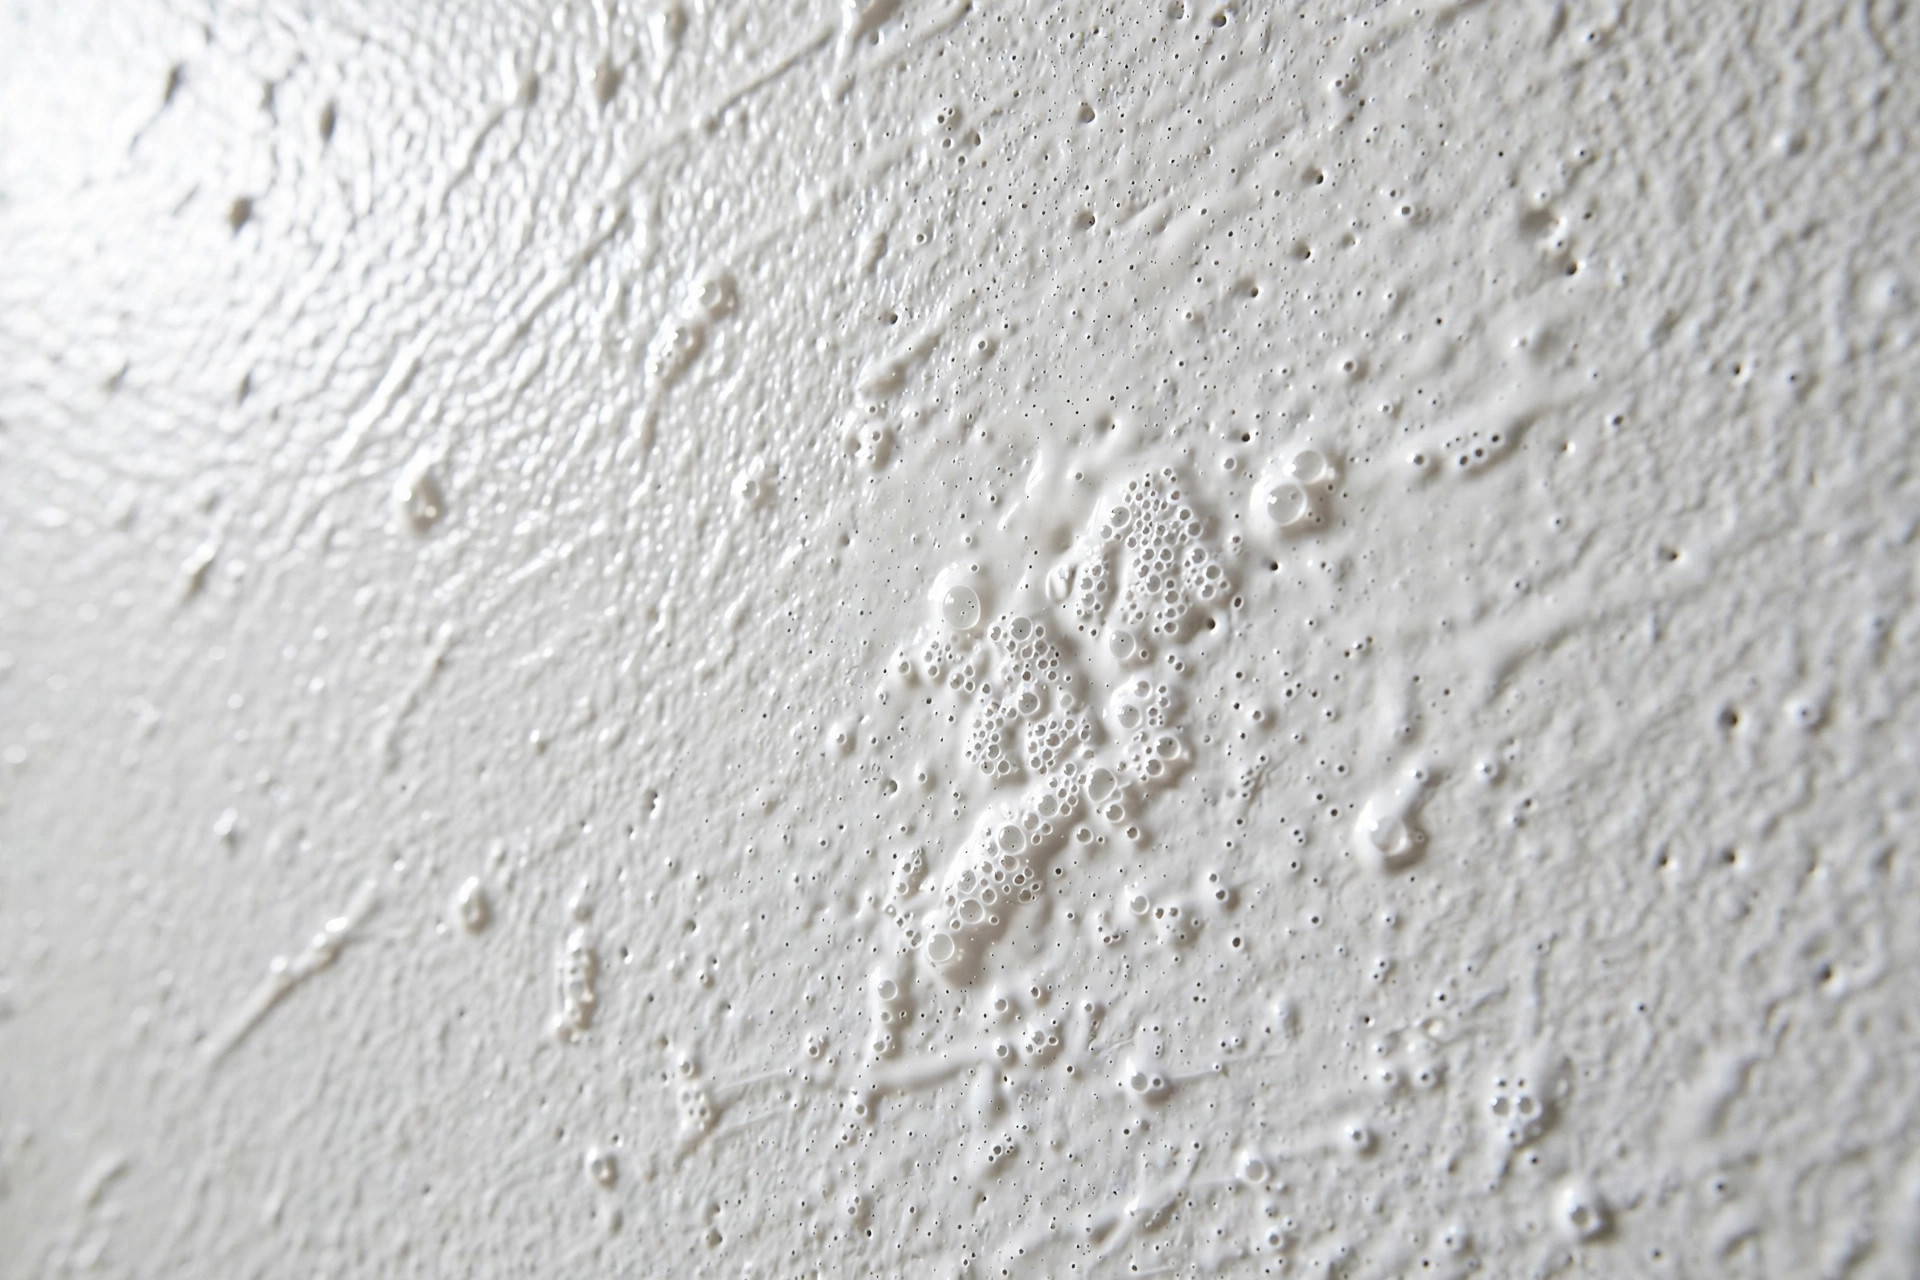
Many people ask what the difference is between bubbling and blistering. In everyday trade language, both words refer to the exact same issue: a pocket of air, liquid, or moisture trapped under the paint film.
- Paint bubbling is often used when smaller, air-filled bumps show up on interior walls, particularly when paint is applied too quickly with the wrong roller sleeve or over a dusty surface.
- Paint blistering on walls is the term tradespeople often use for larger, swollen pockets that form when liquid moisture, steam, or high heat forces the paint film outward.
Whether you call it bubbling paint on wall surfaces or paint blistering, the result is the same. The bond between your paint layers and the substrate has broken down.
What Causes Paint to Bubble on Walls?
Paint needs a clean, dry, solid surface so it can grip properly. When paint cannot stick, pockets form. Here are the main reasons paint bubbles on interior walls.
Moisture and Humidity
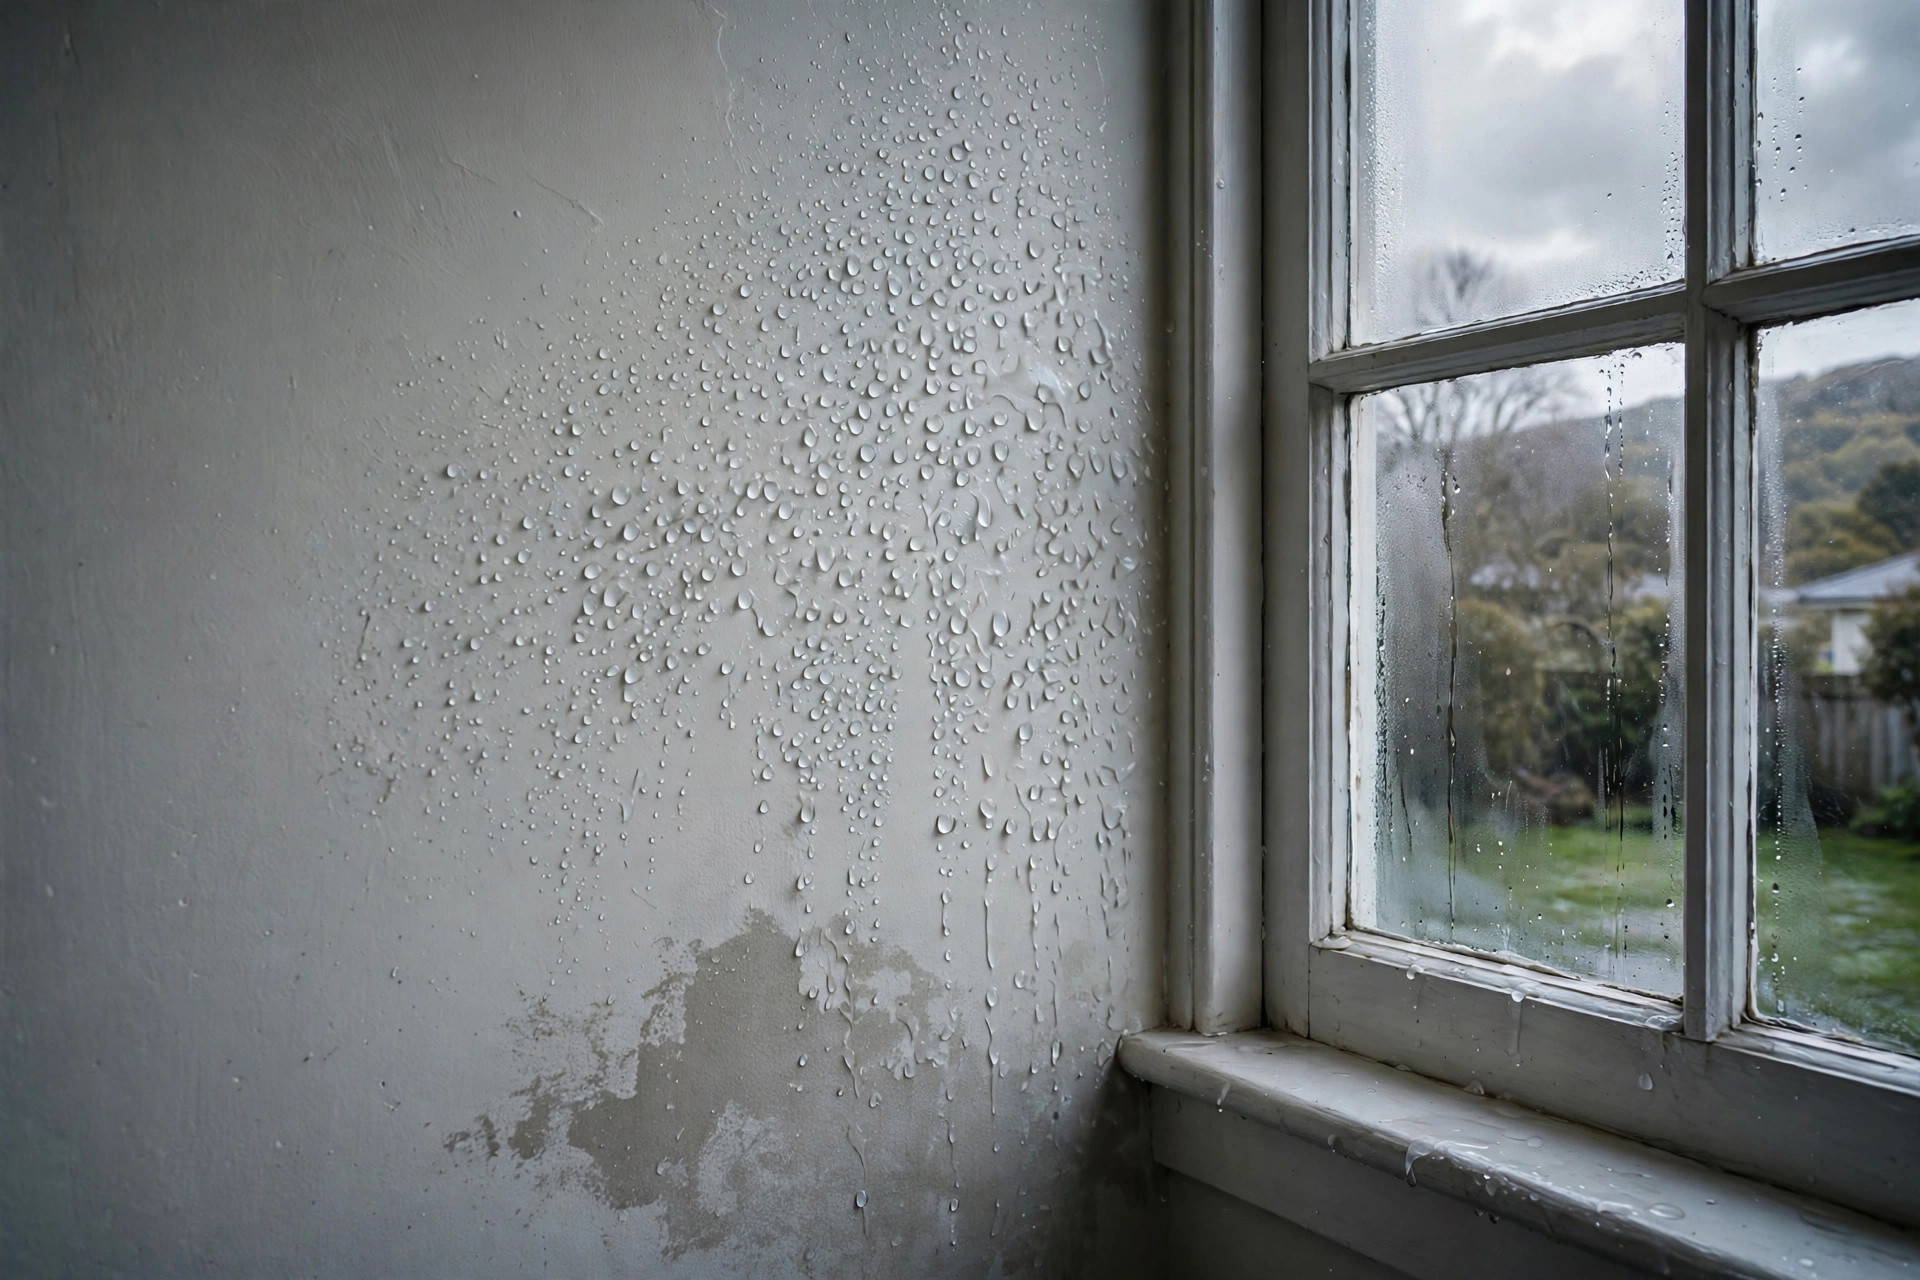
Moisture is the number one cause of blistering paint. Because New Zealand homes are often cool and damp during winter, indoor moisture levels can rise quickly.
Moisture gets behind paint films in a few ways:
- Condensation: Cold morning air causes condensation to build up on uninsulated walls, particularly in bedrooms and living rooms.
- Bathroom and kitchen steam: Hot showers and boiling pots fill the air with steam. Without an extractor fan running, warm moisture settles onto cool painted ceilings and walls.
- Plumbing leaks: A slow drip from a water pipe inside a wall cavity will soak through GIB board and push the paint off from the inside out.
- Water coming in from outside: Cracked exterior cladding, bad window seals, or overflowing gutters can let rain seep into the wall framing.
Painting Over a Dirty or Greasy Wall
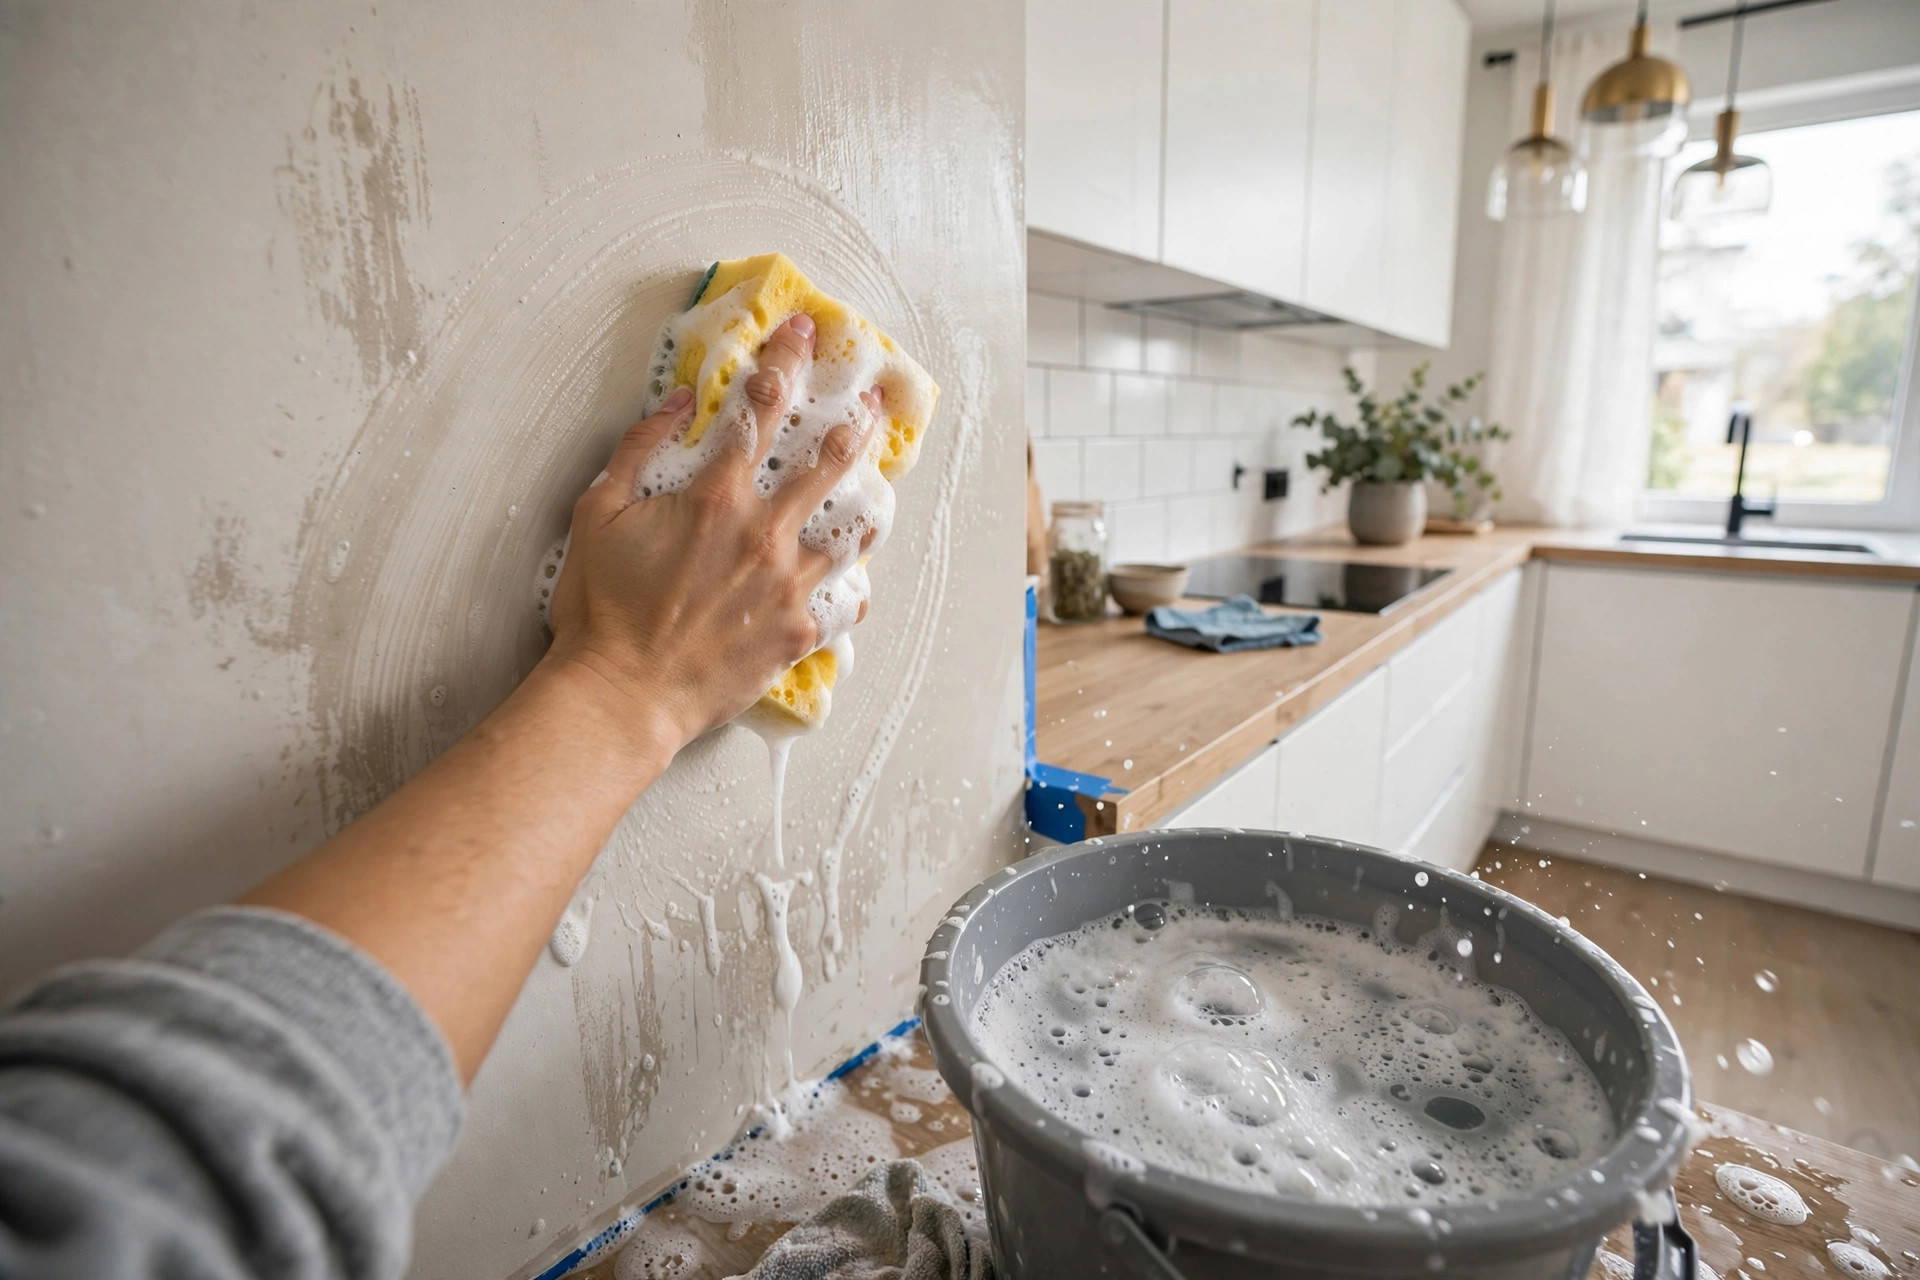
Paint cannot stick to grease, cooking oils, dust, or soap residue. If someone paints a kitchen wall without cleaning it first, the paint sticks to the greasy film instead of the wall. As the paint cures and tightens, it loses grip and forms bubbles.
Skipping Primer or a Mist Coat
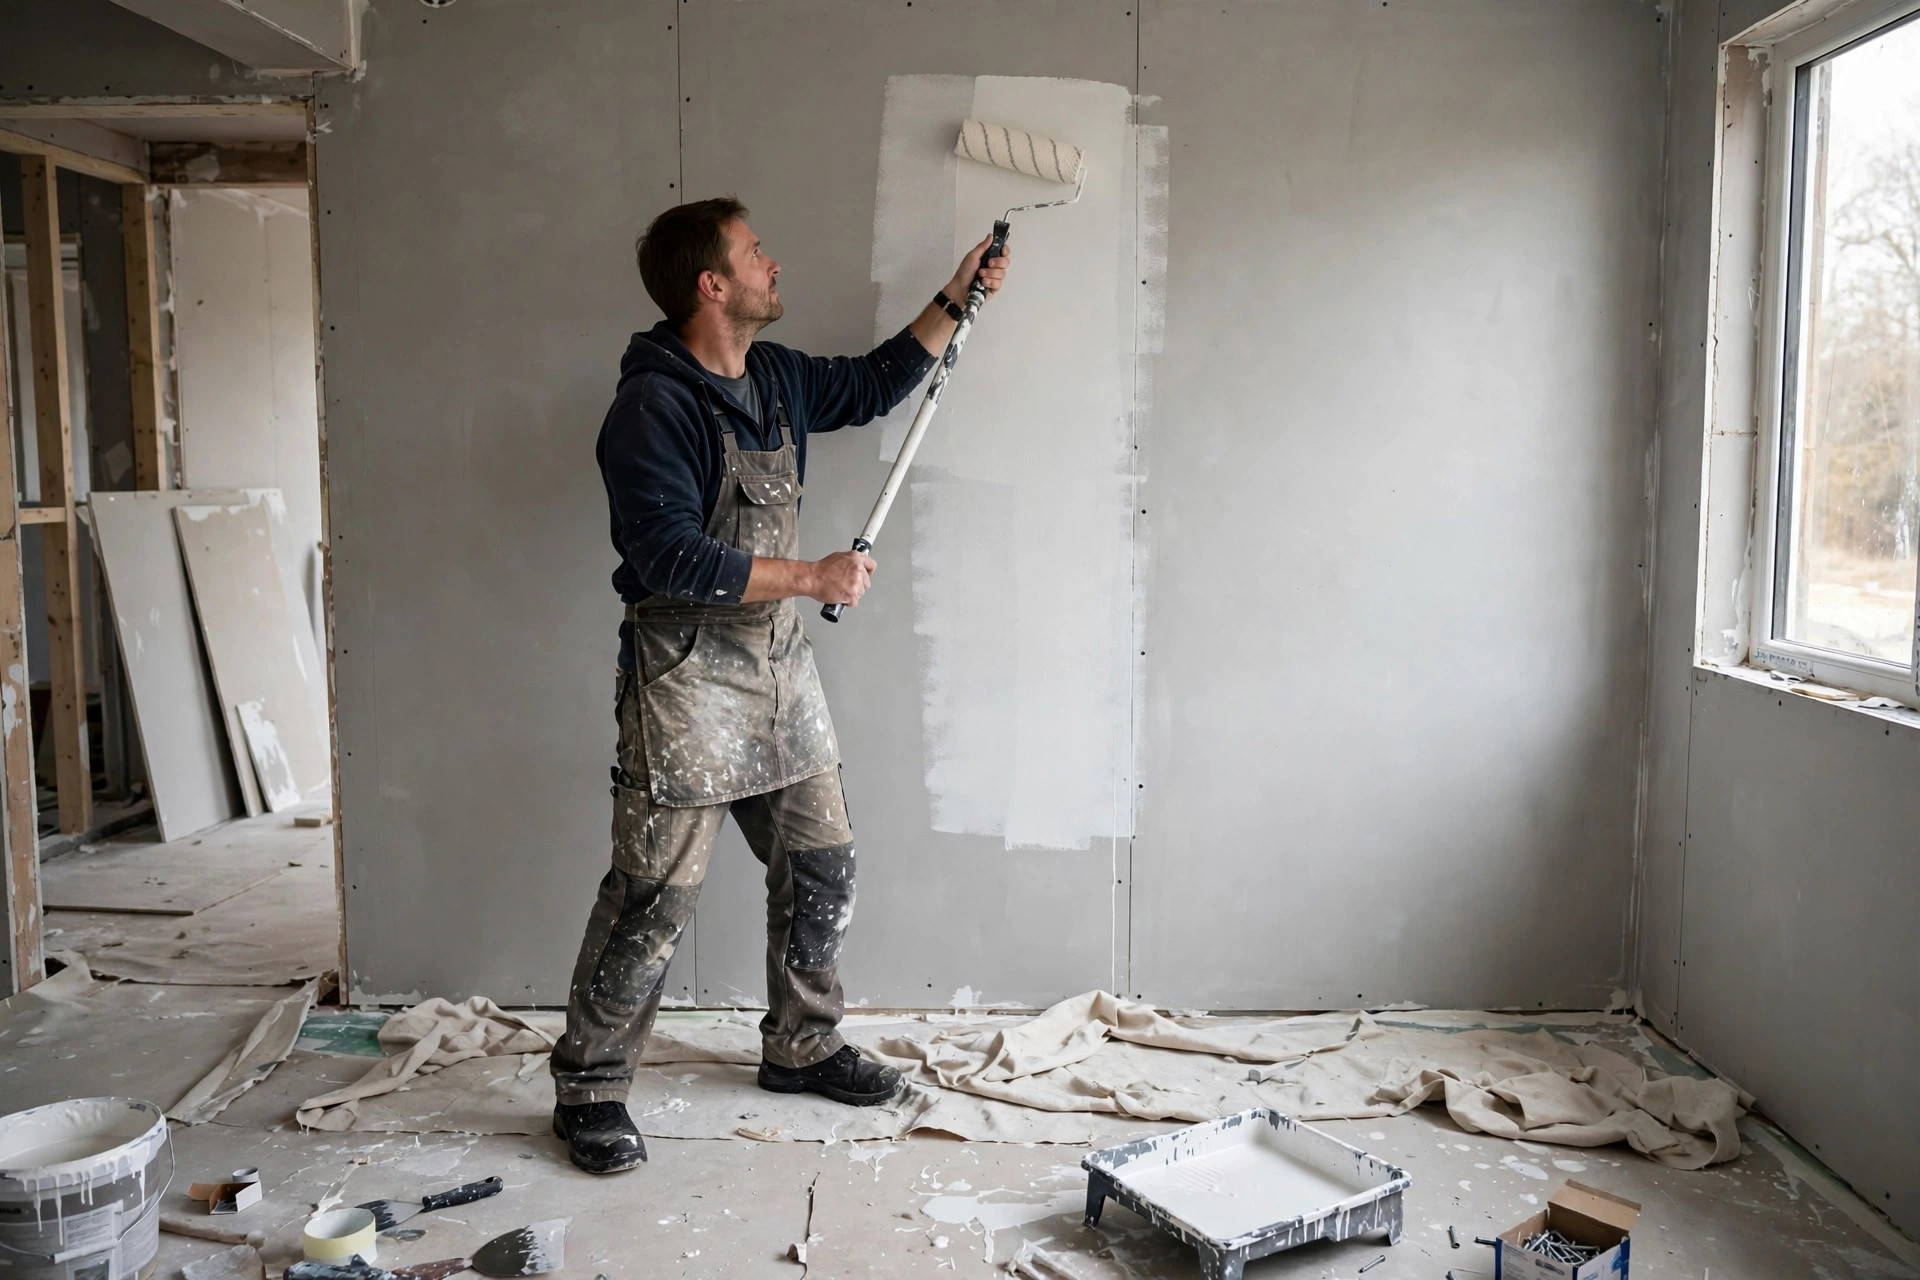
Bare plaster, new GIB board, joint filler, and drywall mud are very porous. They drink up liquid like a dry sponge. If you roll standard water-based acrylic paint directly over bare plasterboard without applying a dedicated drywall primer or a thinned mist coat first, the wall soaks up the moisture from the paint too quickly. The paint cannot cure into a flexible film, leading to weak adhesion and bubbling.
Painting in Heat or High Humidity
Painting on an unusually hot afternoon causes the top layer of paint to dry within minutes. The wet paint trapped underneath cannot release its moisture properly, so it forms vapor blisters. High indoor humidity does the opposite: it slows down drying times so much that the paint film stays soft and vulnerable to bubbling. Always check the application temperature and humidity guidelines printed on your paint tin before you begin.
Overmixing, Rushing, or the Wrong Roller Cover
Shaking a paint tin too hard or using an electric mixing paddle at high speeds whips air bubbles into the liquid paint. If you pour foamy paint into a tray and roll it onto the wall immediately, those tiny air pockets transfer to your surface. Using a thick, shaggy roller cover on a smooth indoor wall can also trap air under the paint.
Painting Before the Last Coat Dried, or Using Incompatible Paint
Every paint tin states a recommended recoat time. If you apply a second coat while the first coat is still damp, the moisture from the bottom layer gets trapped under the top skin.
Another common mistake is painting modern water-based acrylic directly over old, glossy oil-based enamel without sanding or applying a bridging primer. Acrylic paint cannot grip slick oil enamel, causing it to peel off in large sheets.
Why Is Paint Bubbling on Only One Wall?
If you notice paint bubbling on only one wall in a room, you can usually rule out bad paint or poor rolling technique. If you used the wrong roller or bought bad paint, every wall in that room would show bubbles.
When only one wall blisters, look for a local problem:
- It is an external wall: Exterior-facing walls are much colder than internal dividing walls. Cold wall surfaces cause indoor moisture to condense into water droplets on that specific side.
- There is a plumbing leak behind it: If that wall shares plumbing with a bathroom, laundry, or kitchen, a leaky pipe joint inside the wall cavity may be soaking the plasterboard.
- It backs onto a shower or wet room: A failing waterproof membrane or cracked shower tile on the other side can let moisture migrate into the adjacent bedroom wall.
- It is close to a heat source: A wall right beside a wood burner, heat pump, or sunny unshaded window can blister due to intense heat drying the surface too fast.
Is It Moisture or Poor Prep? A Quick Test
Before spending time fixing the wall, you need to know what caused the blister. You can tell a lot simply by cutting into one of the bubbles with a scraper or utility knife.
| What You See Under the Bubble | Likely Problem | What It Means |
|---|---|---|
| Bare GIB board, raw plaster, or white wall dust | Deep moisture or skipped primer | Moisture inside the wall has forced the entire paint system off, or the painter never primed the raw plasterboard. |
| An older layer of paint | Poor surface prep or paint incompatibility | The new paint failed to grip the previous coat due to surface grease, gloss, or painting over uncured paint. |
If you cut open a bubble and water or dampness comes out, stop painting immediately. You have an active water leak or severe condensation that must be dried out first.
How to Fix Paint Bubbling on a Wall, Step by Step
Follow this reliable step-by-step method to repair damaged areas and achieve a clean, smooth wall finish.
Step 1: Find and Fix the Cause
Do not touch a paintbrush until you fix the underlying issue. Repair any leaky pipes, seal exterior cracks, and run a dehumidifier to dry out the room. If the wall is damp, new paint will simply bubble again.
Step 2: Scrape Back to a Firm Edge
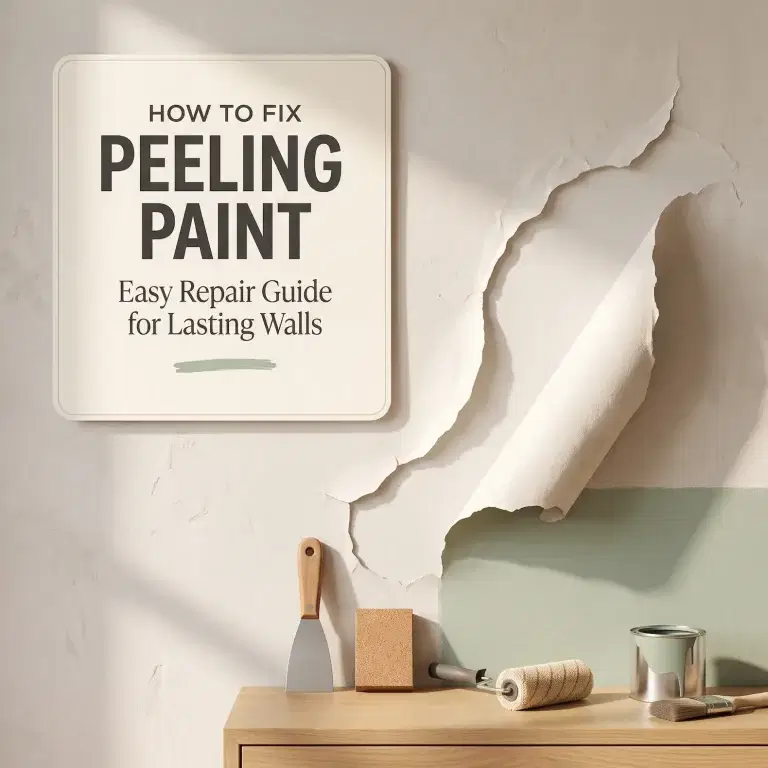
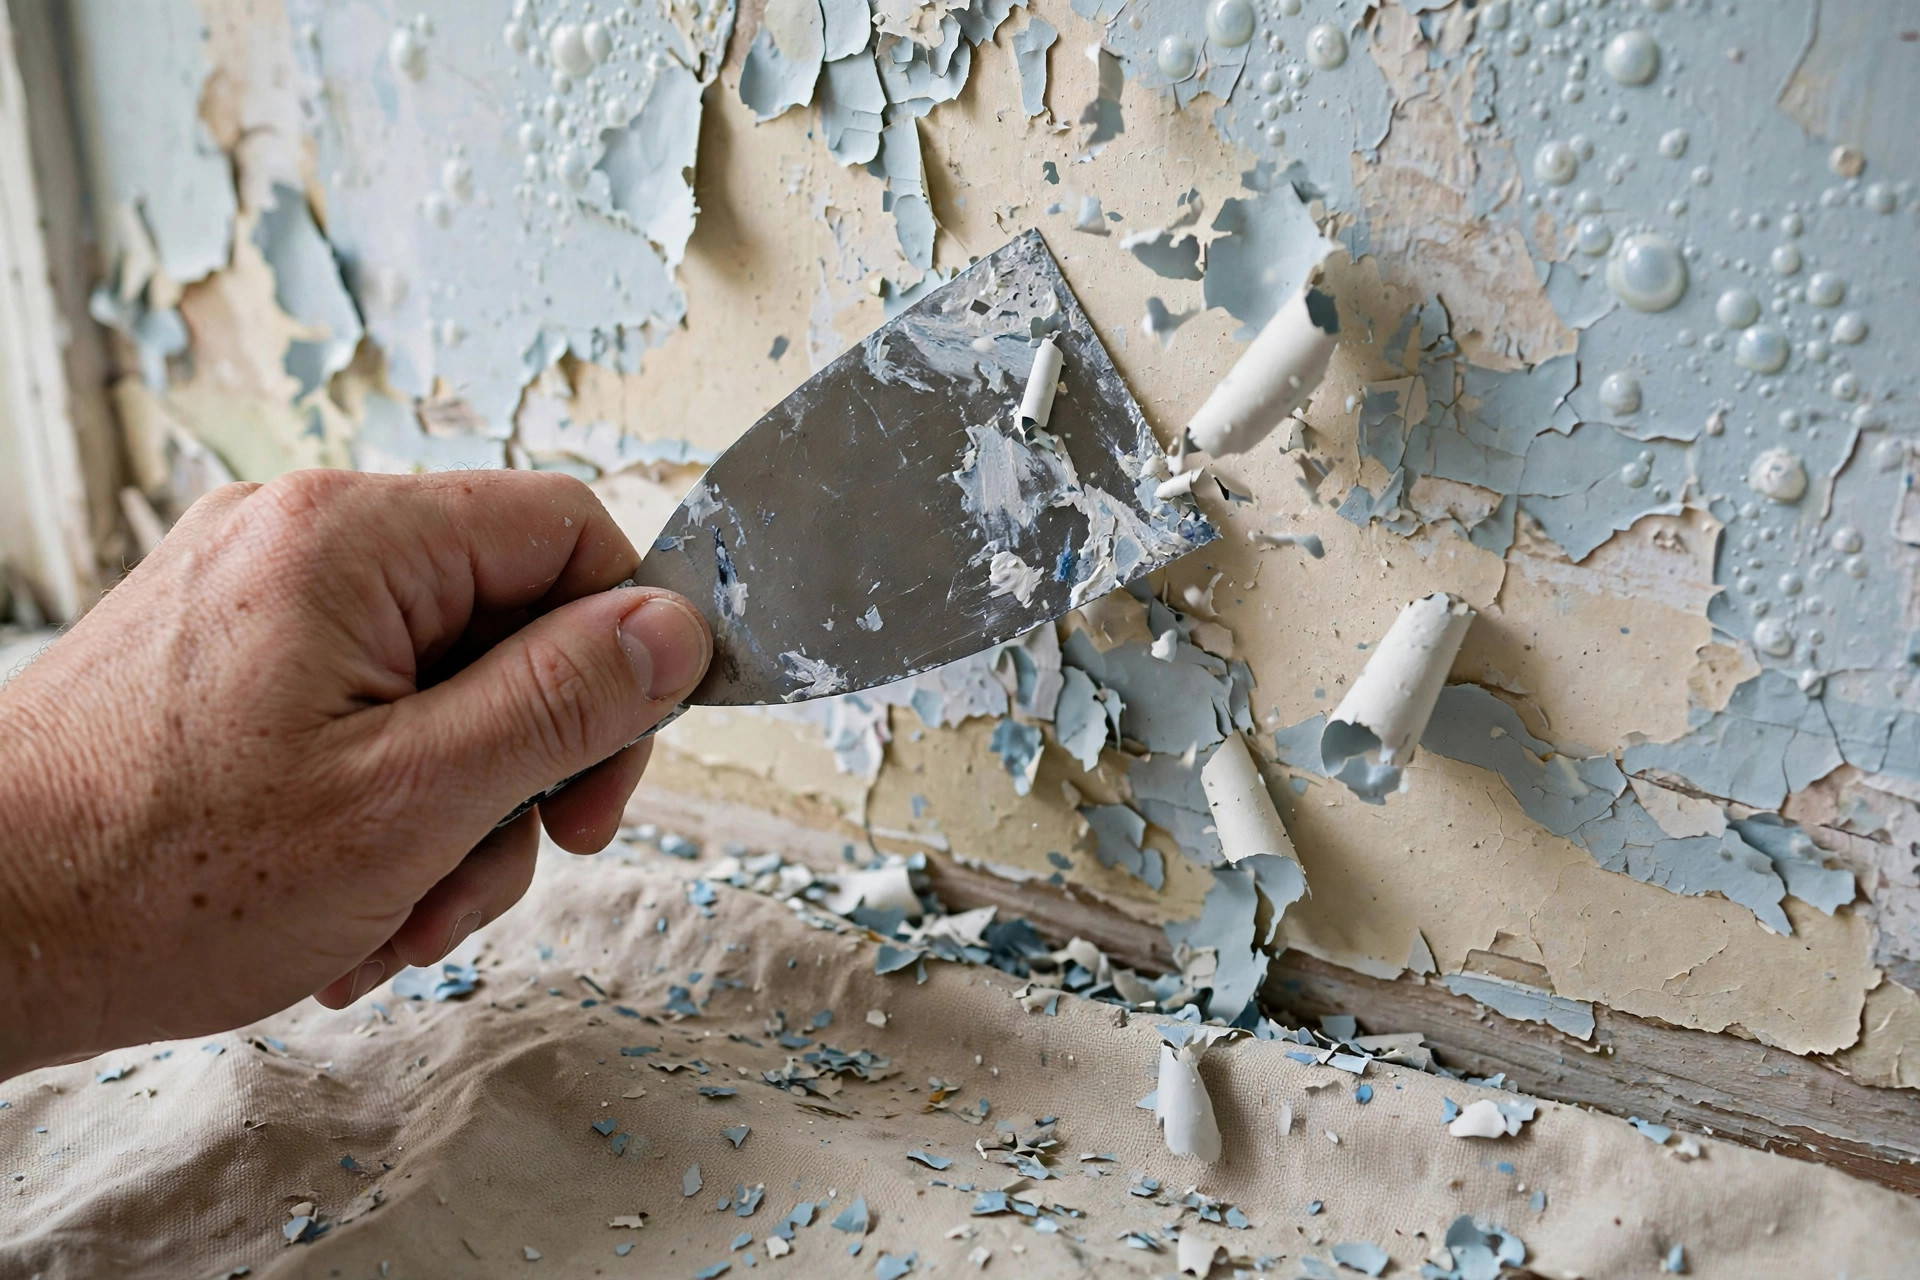
Put on a dust mask and lay down a drop sheet. Take a flexible putty knife or paint scraper and gently scrape off all loose, peeling paint. Keep scraping outward from the bubble until you reach paint that is firmly stuck to the wall.
Important Safety Note for Older Homes: If your home was built before 1970, the older paint layers may contain toxic lead. Do not dry scrape or power-sand old paint without testing it first using a lead test swab. If lead is present, use wet-scraping techniques with proper safety masks and HEPA vacuum collection to keep your family safe.
Step 3: Sand and Feather the Edges
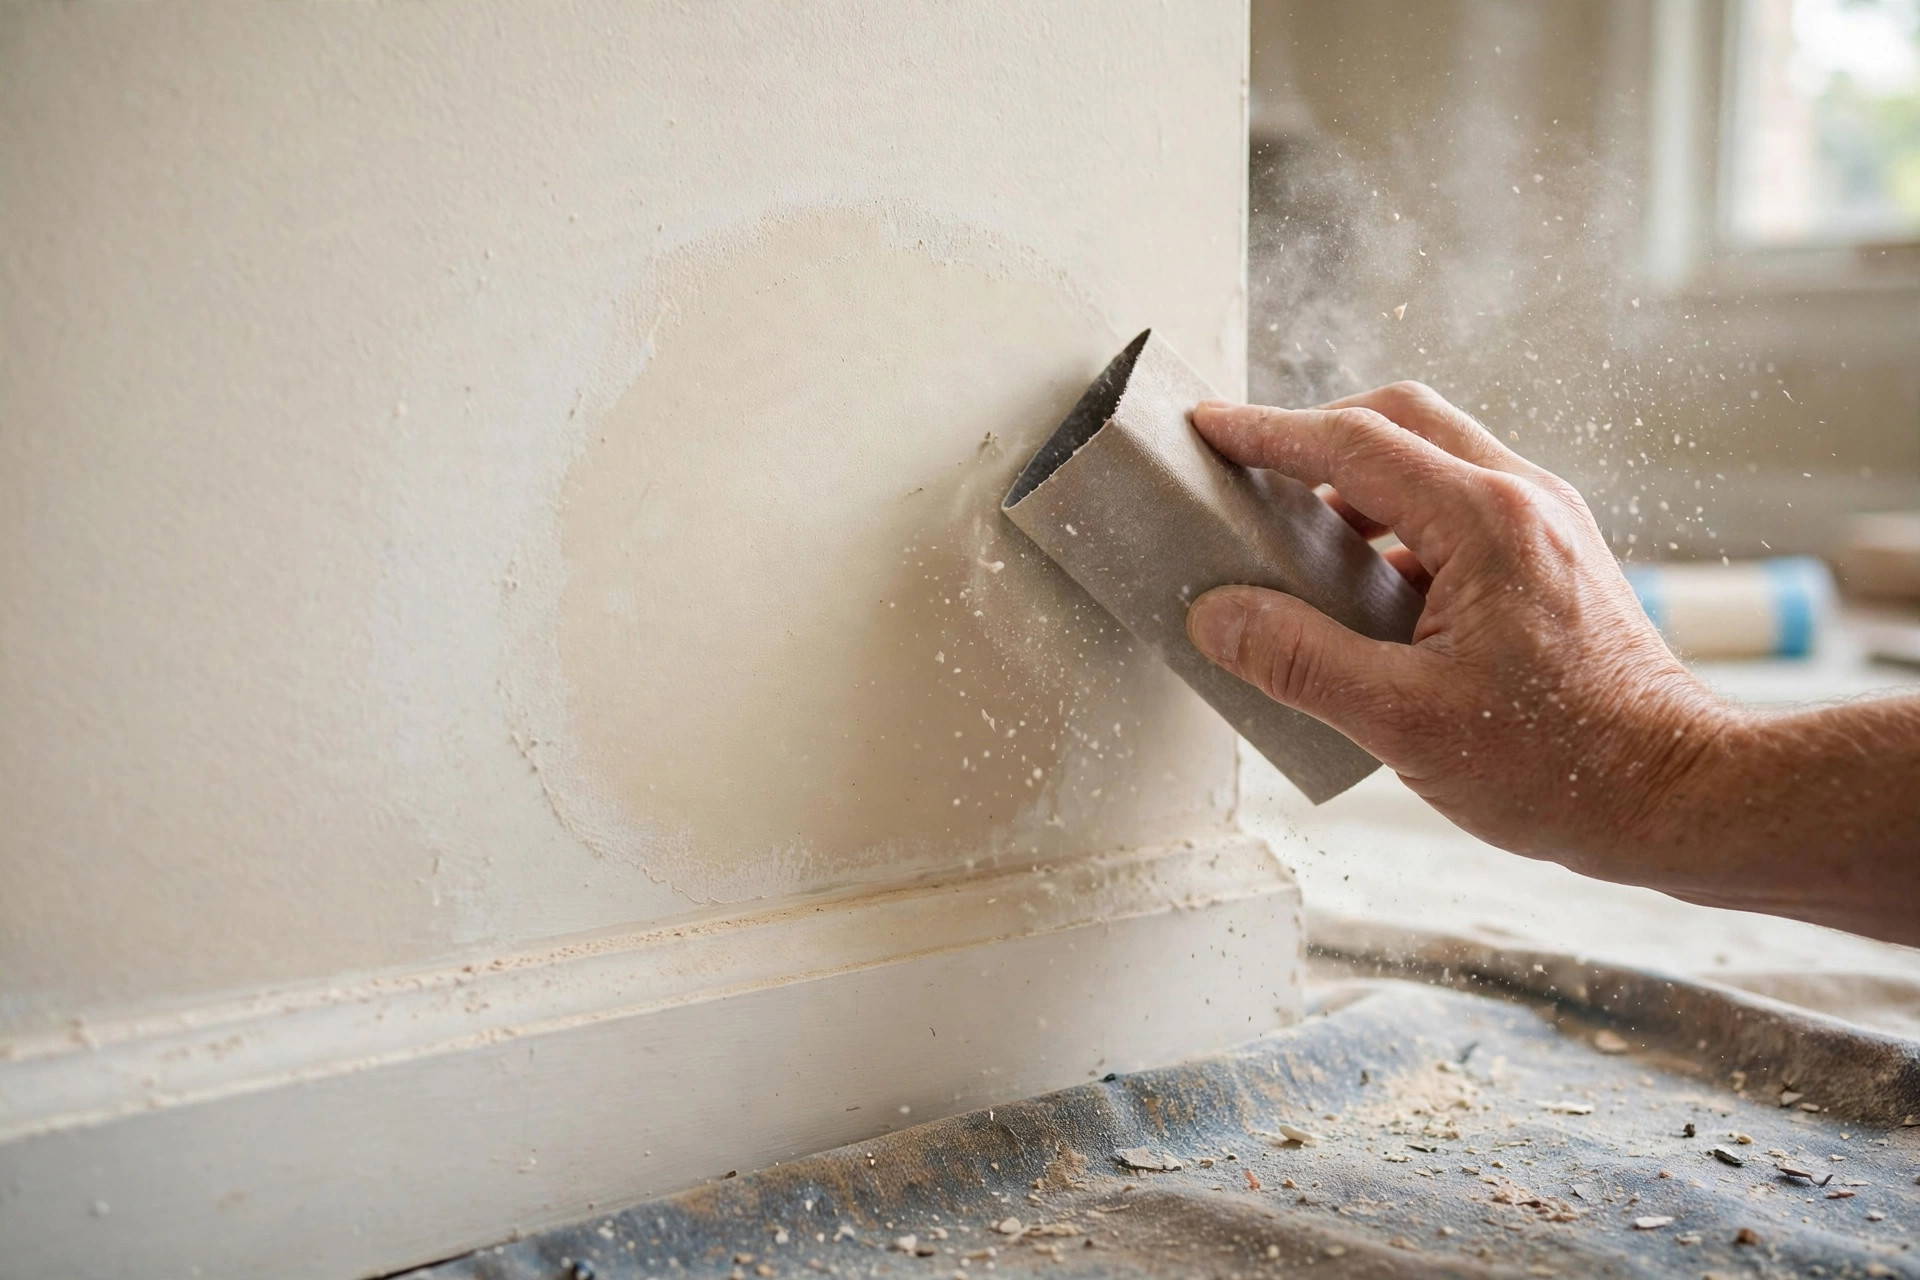
Once all the loose paint is gone, you will have an uneven edge between the bare wall and the remaining paint. Use 120-grit sandpaper followed by 220-grit fine sandpaper to sand the hard edge down smooth. This process is called “feathering”. If you run your bare finger across the edge and feel a ridge, sand it until it feels flat.
Step 4: Fill Any Dents or Holes
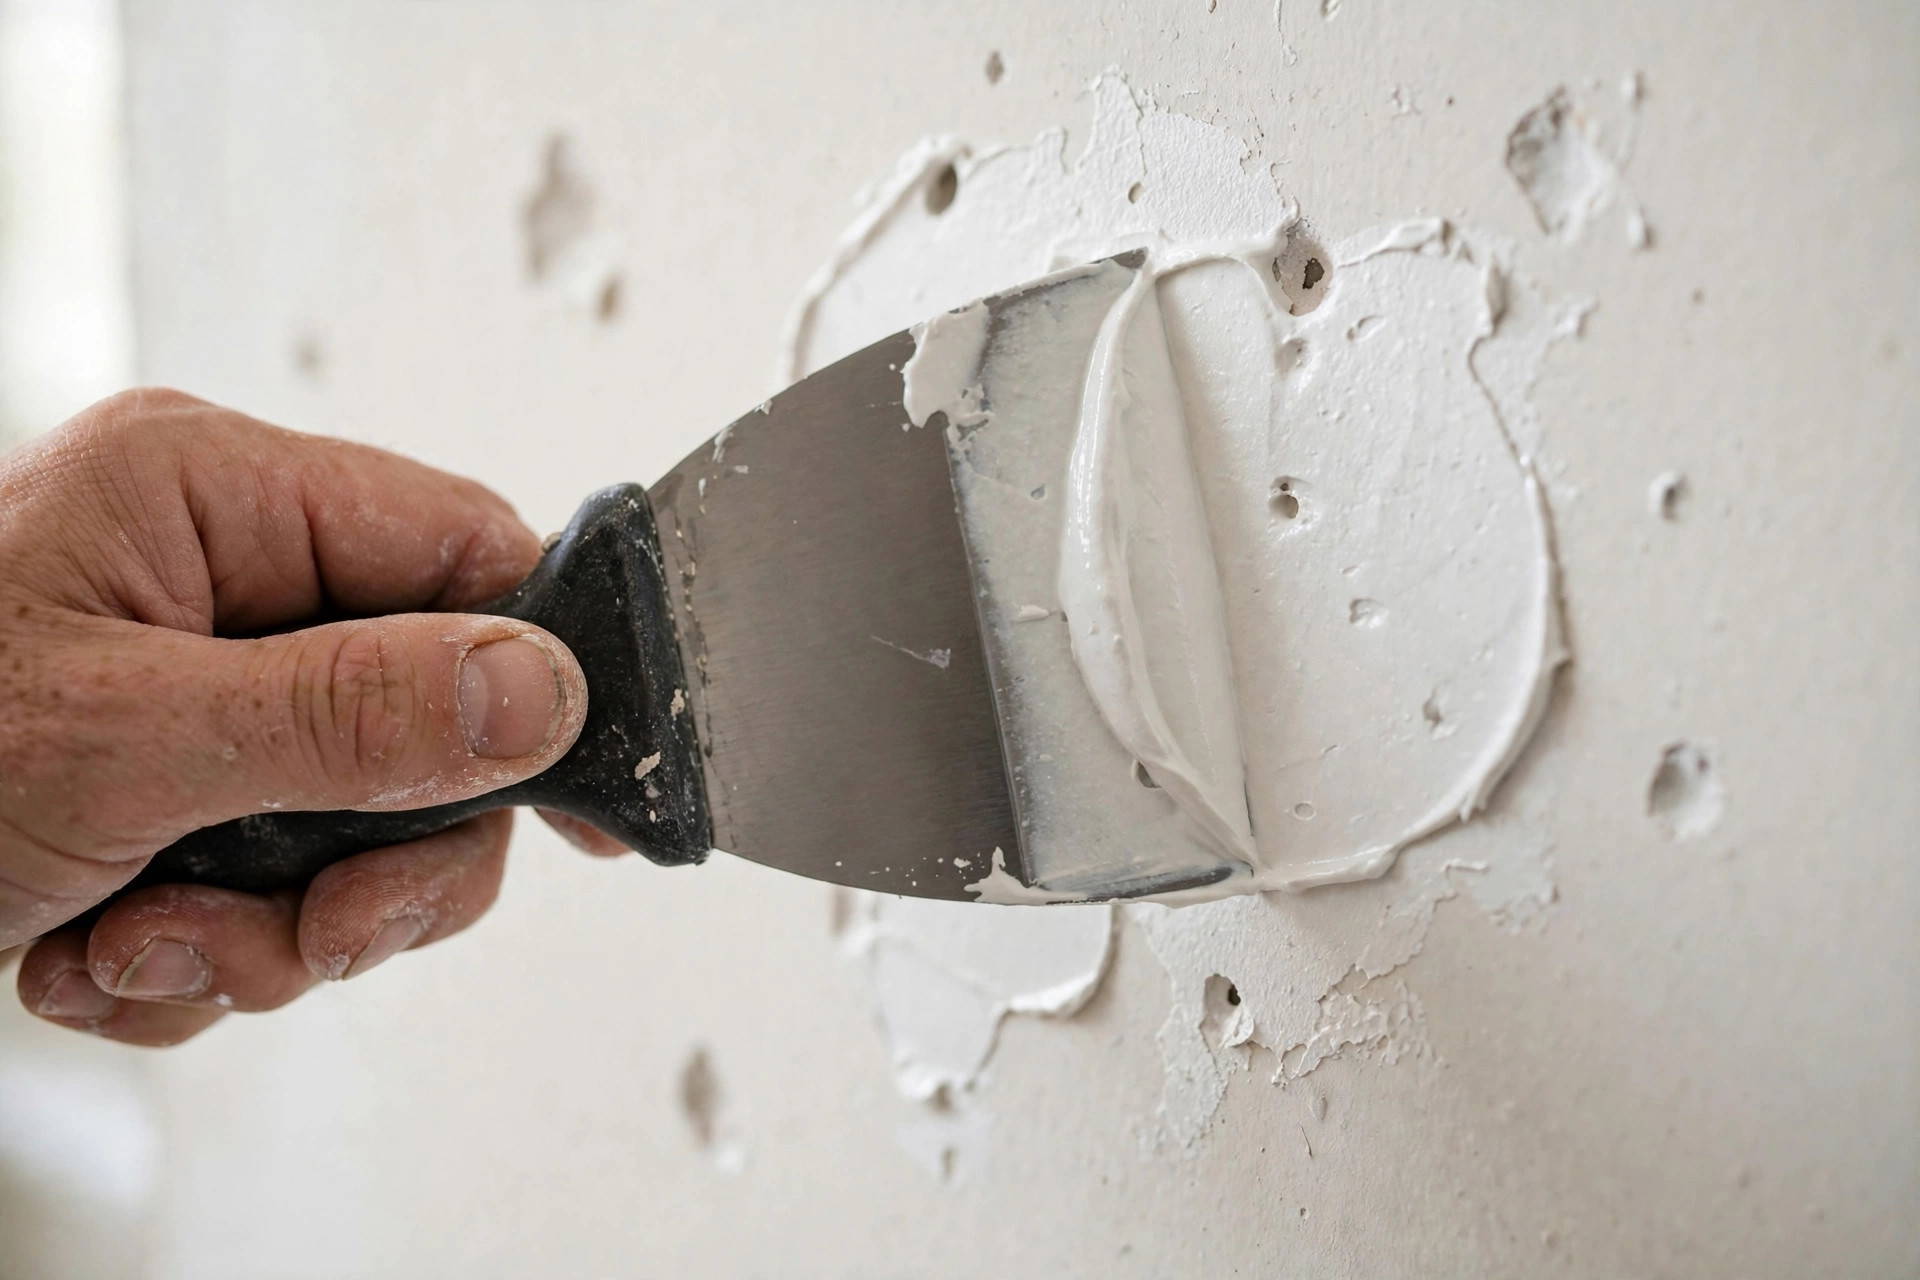
Use a quality interior filler or plasterboard compound to level out the depression left by the peeled paint. Press the filler firmly into the area using a broad knife, smoothing it out slightly wider than the repair patch. Let the filler dry completely according to the manufacturer’s instructions, then sand it smooth with fine 220-grit sandpaper.
Step 5: Clean and Let It Dry Fully
Vacuum away the plaster dust, then wash the repair area and surrounding wall with warm water and sugar soap to remove any remaining grease, hand oils, and dirt. Wipe it down with clean water and let the wall dry out completely.
Step 6: Prime or Apply a Mist Coat
Never apply your coloured topcoat straight onto bare filler or raw GIB board. Apply a dedicated interior sealer/primer or a suitable mist coat over the repaired patches. Primer seals the filler, prevents flashing (dull, patchy spots), and provides a sound base for your paint to stick to.
Step 7: Repaint in Thin Coats
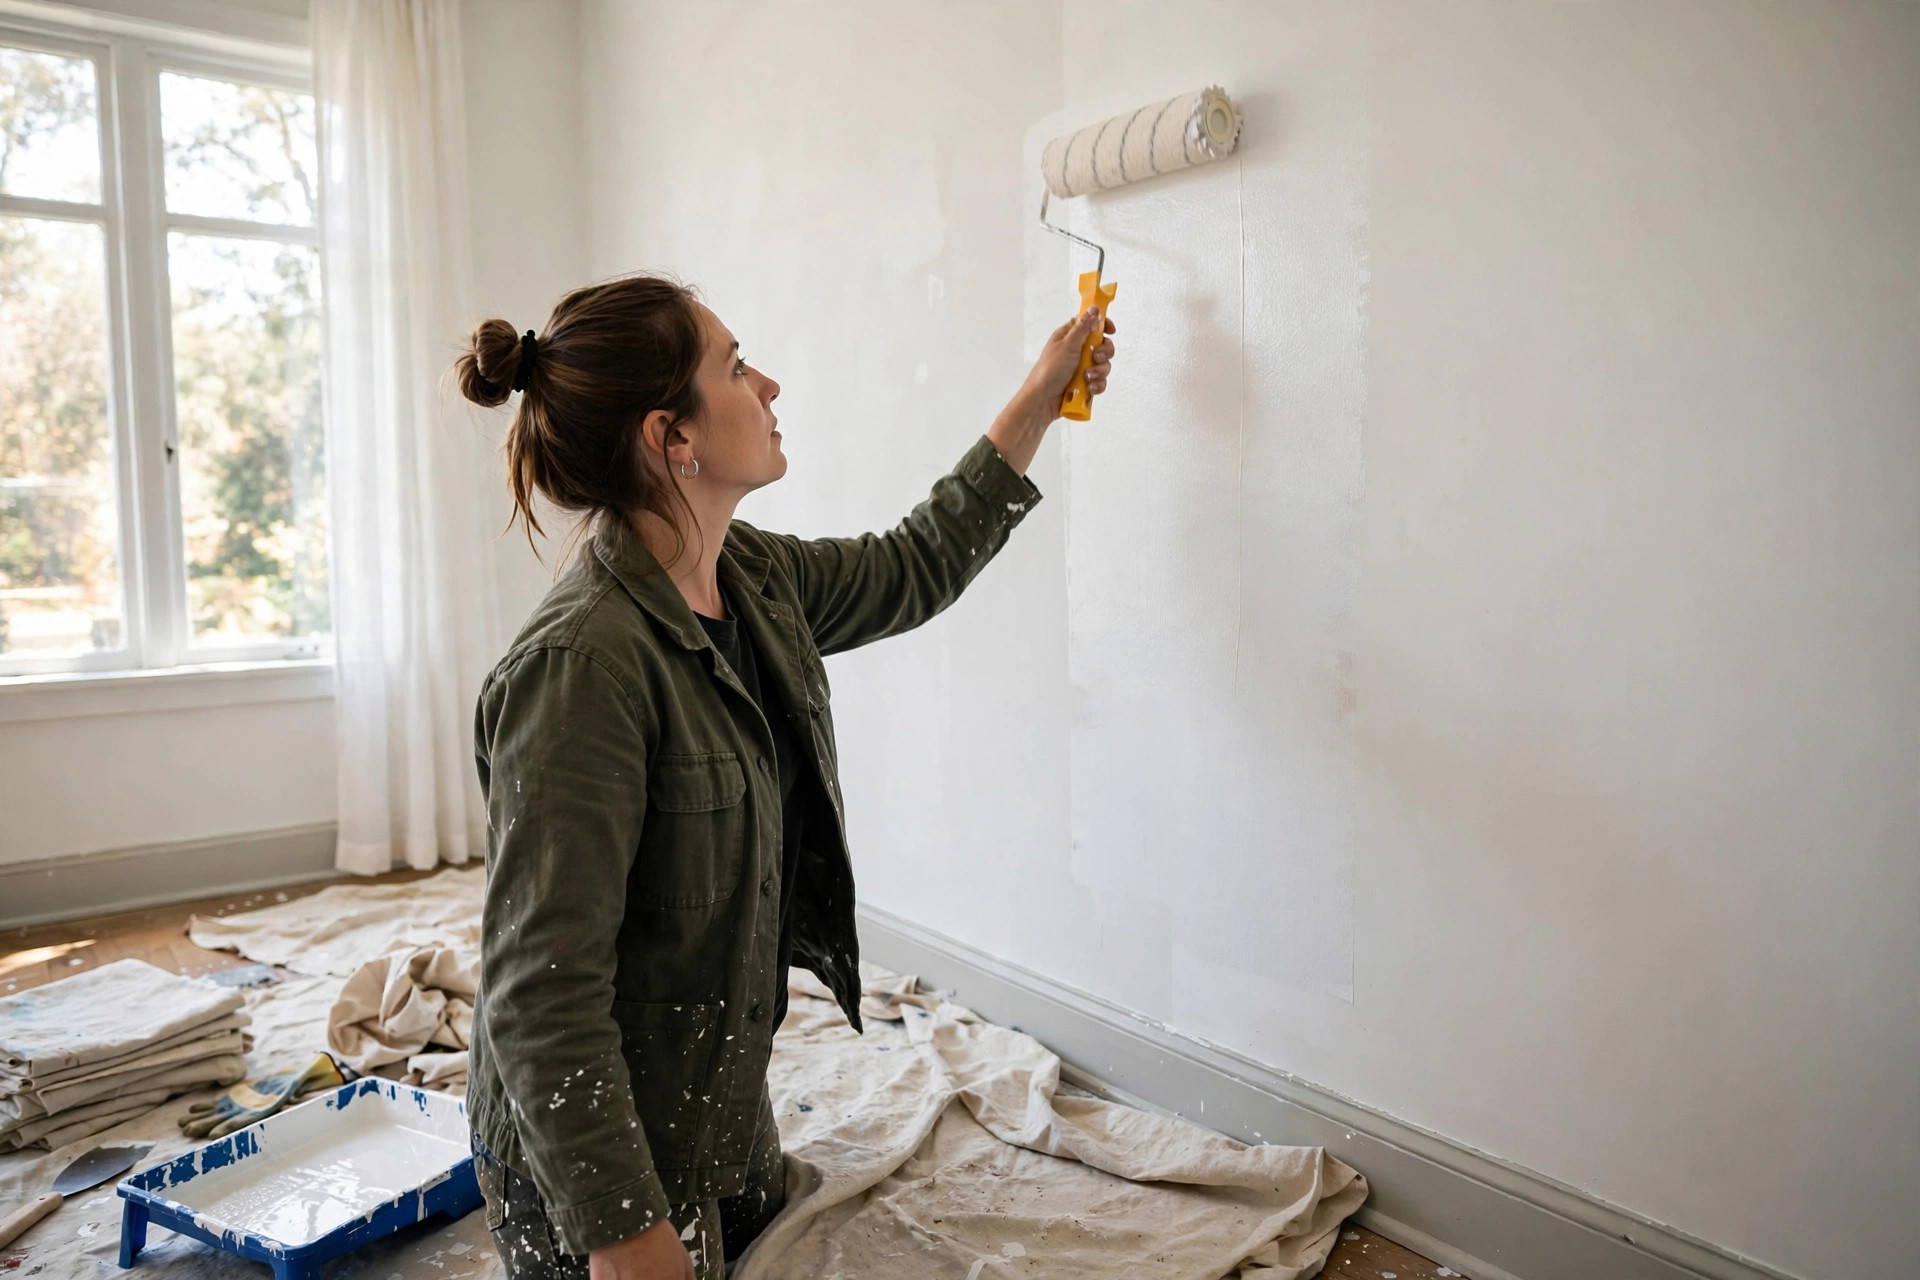
Once the primer is fully dry, roll on your matching topcoat. Apply two thin, even coats rather than one heavy, thick layer. Allow the full drying time between coats as stated on your paint tin.
Can You Just Paint Over Paint Bubbles?
No, you should never paint over paint bubbles.
It is tempting to run a roller over a bubble in the hope that thick paint will hide it, but this never works. A bubble is a hollow pocket where the paint film has detached from the wall. Rolling fresh, wet paint over it adds weight and moisture to the loose film. The bubble will stretch, split open, or peel away on your roller, leaving you with an uneven, messy wall that is much harder to fix. Always scrape, patch, prime, and repaint.
How to Stop Paint Bubbling From Coming Back
Once you have repaired your wall, follow these simple trade habits to keep paint bubbles from returning:
- Keep rooms ventilated: Open windows on dry days to circulate fresh air and reduce indoor humidity.
- Use extractor fans: Always run the extractor fan while cooking or showering, and let it run for 15 minutes after you finish.
- Run a dehumidifier: In cool or damp rooms, a dehumidifier helps pull moisture out of the air before it can settle on your walls.
- Use proper bathroom paints: In wet areas, use durable paints with built-in anti-mould protection designed to handle steam and moisture.
- Never rush drying times: Give each coat of paint plenty of time to dry before adding the next one, especially on cold days.
- Follow temperature guidelines: Check the back of your paint tin and avoid painting when the room is colder than 10°C or hotter than 30°C.
Bubbling Paint in Bathrooms, Kitchens, and Ceilings
Bathrooms and kitchens suffer from paint bubbling more than any other room in the house. The reason is steam.
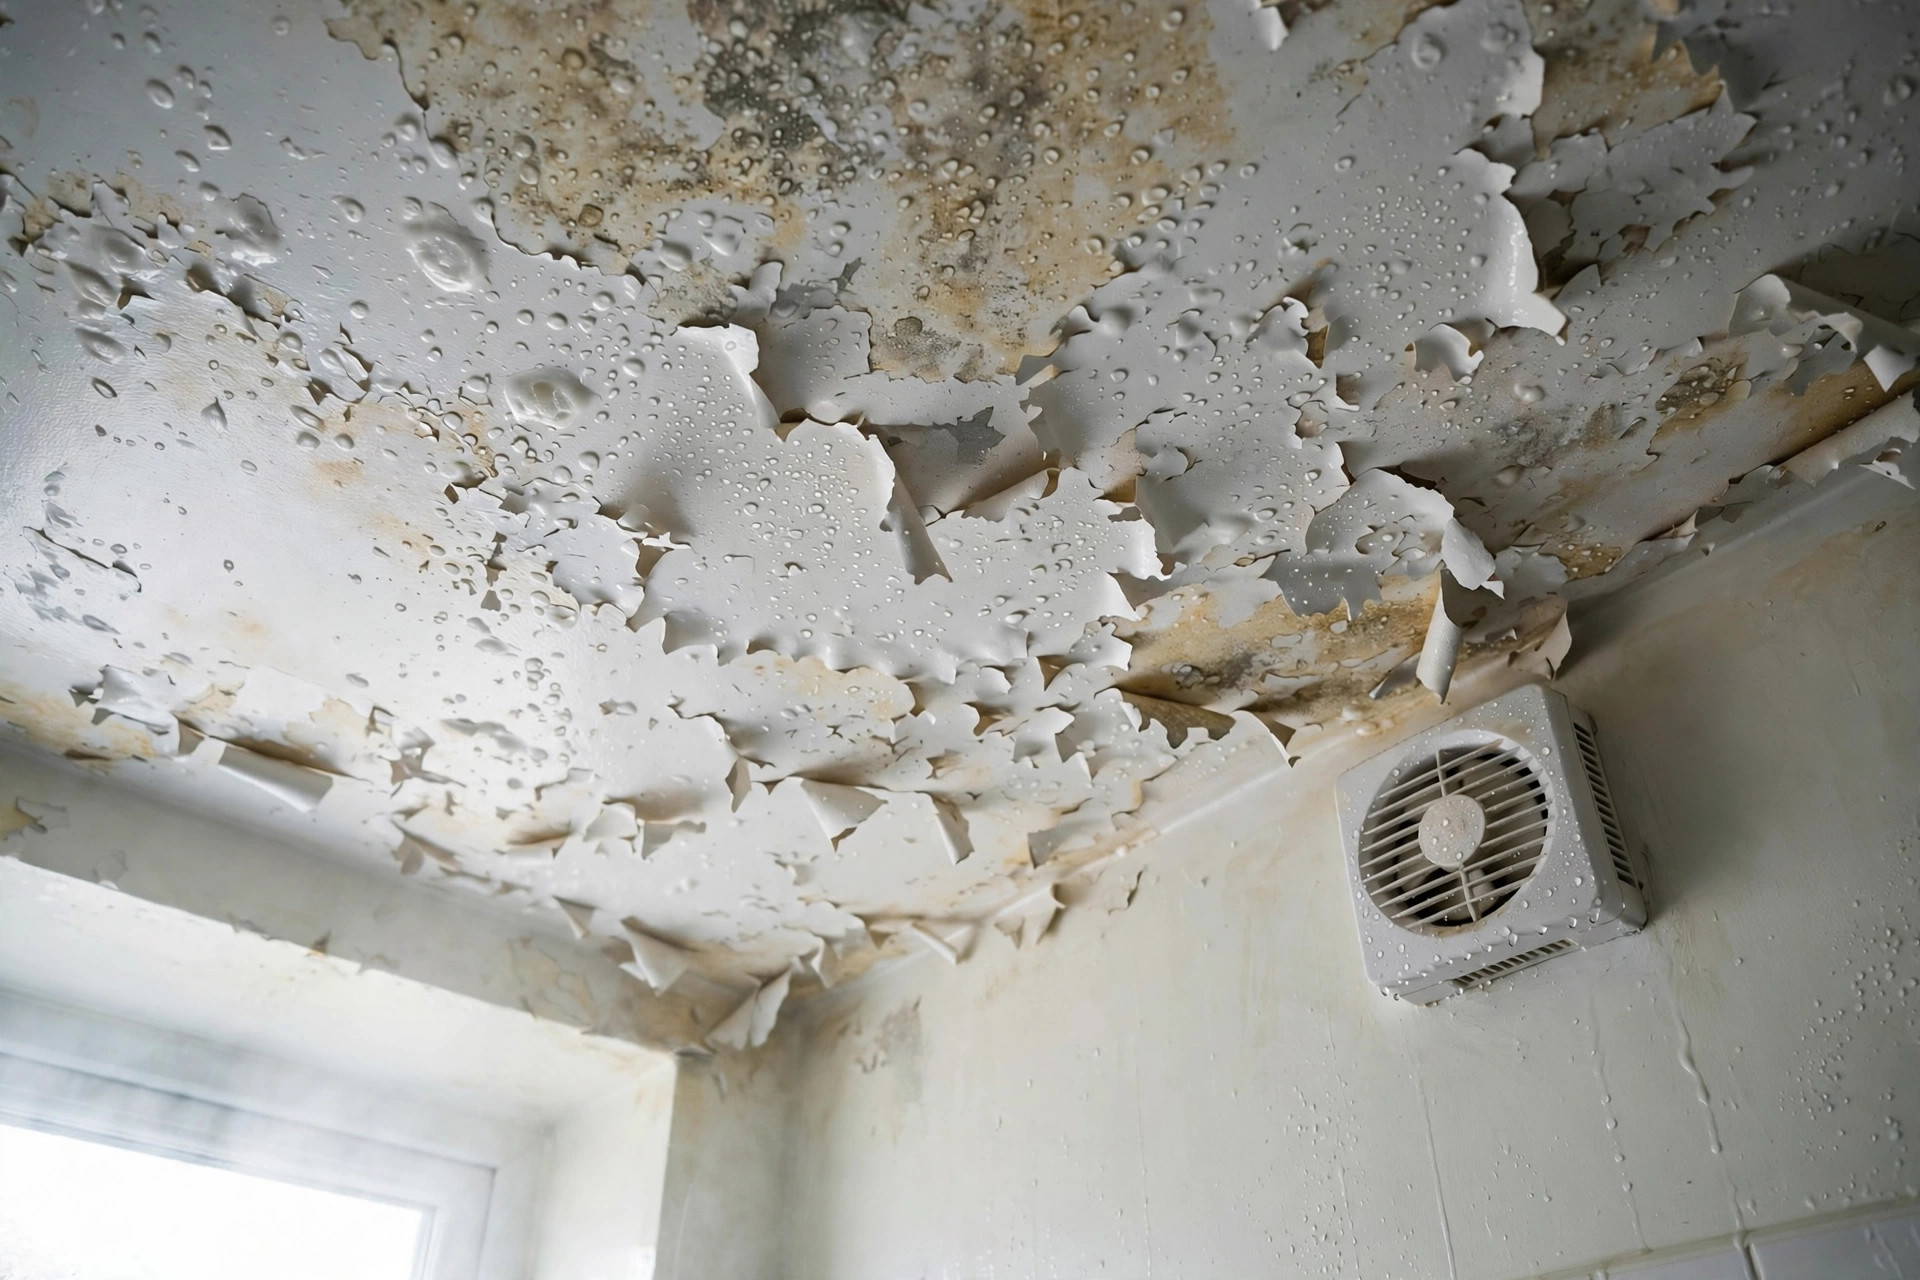
When you take a hot shower or boil water on the stove, steam rises quickly. Ceilings and high wall areas catch this hot moisture first. If the paint film on your ceiling has tiny microscopic cracks, steam gets behind the paint, condenses into water droplets, and forces the paint away from the ceiling board.
To stop bathroom ceilings from bubbling:
- Ensure your extractor fan vents steam directly outside rather than into the ceiling cavity.
- Wipe down wet walls and ceilings after long, hot showers if you notice heavy condensation.
- Use a high-quality kitchen and bathroom paint system that includes dedicated mould and moisture protection.
Exterior Paint Blistering
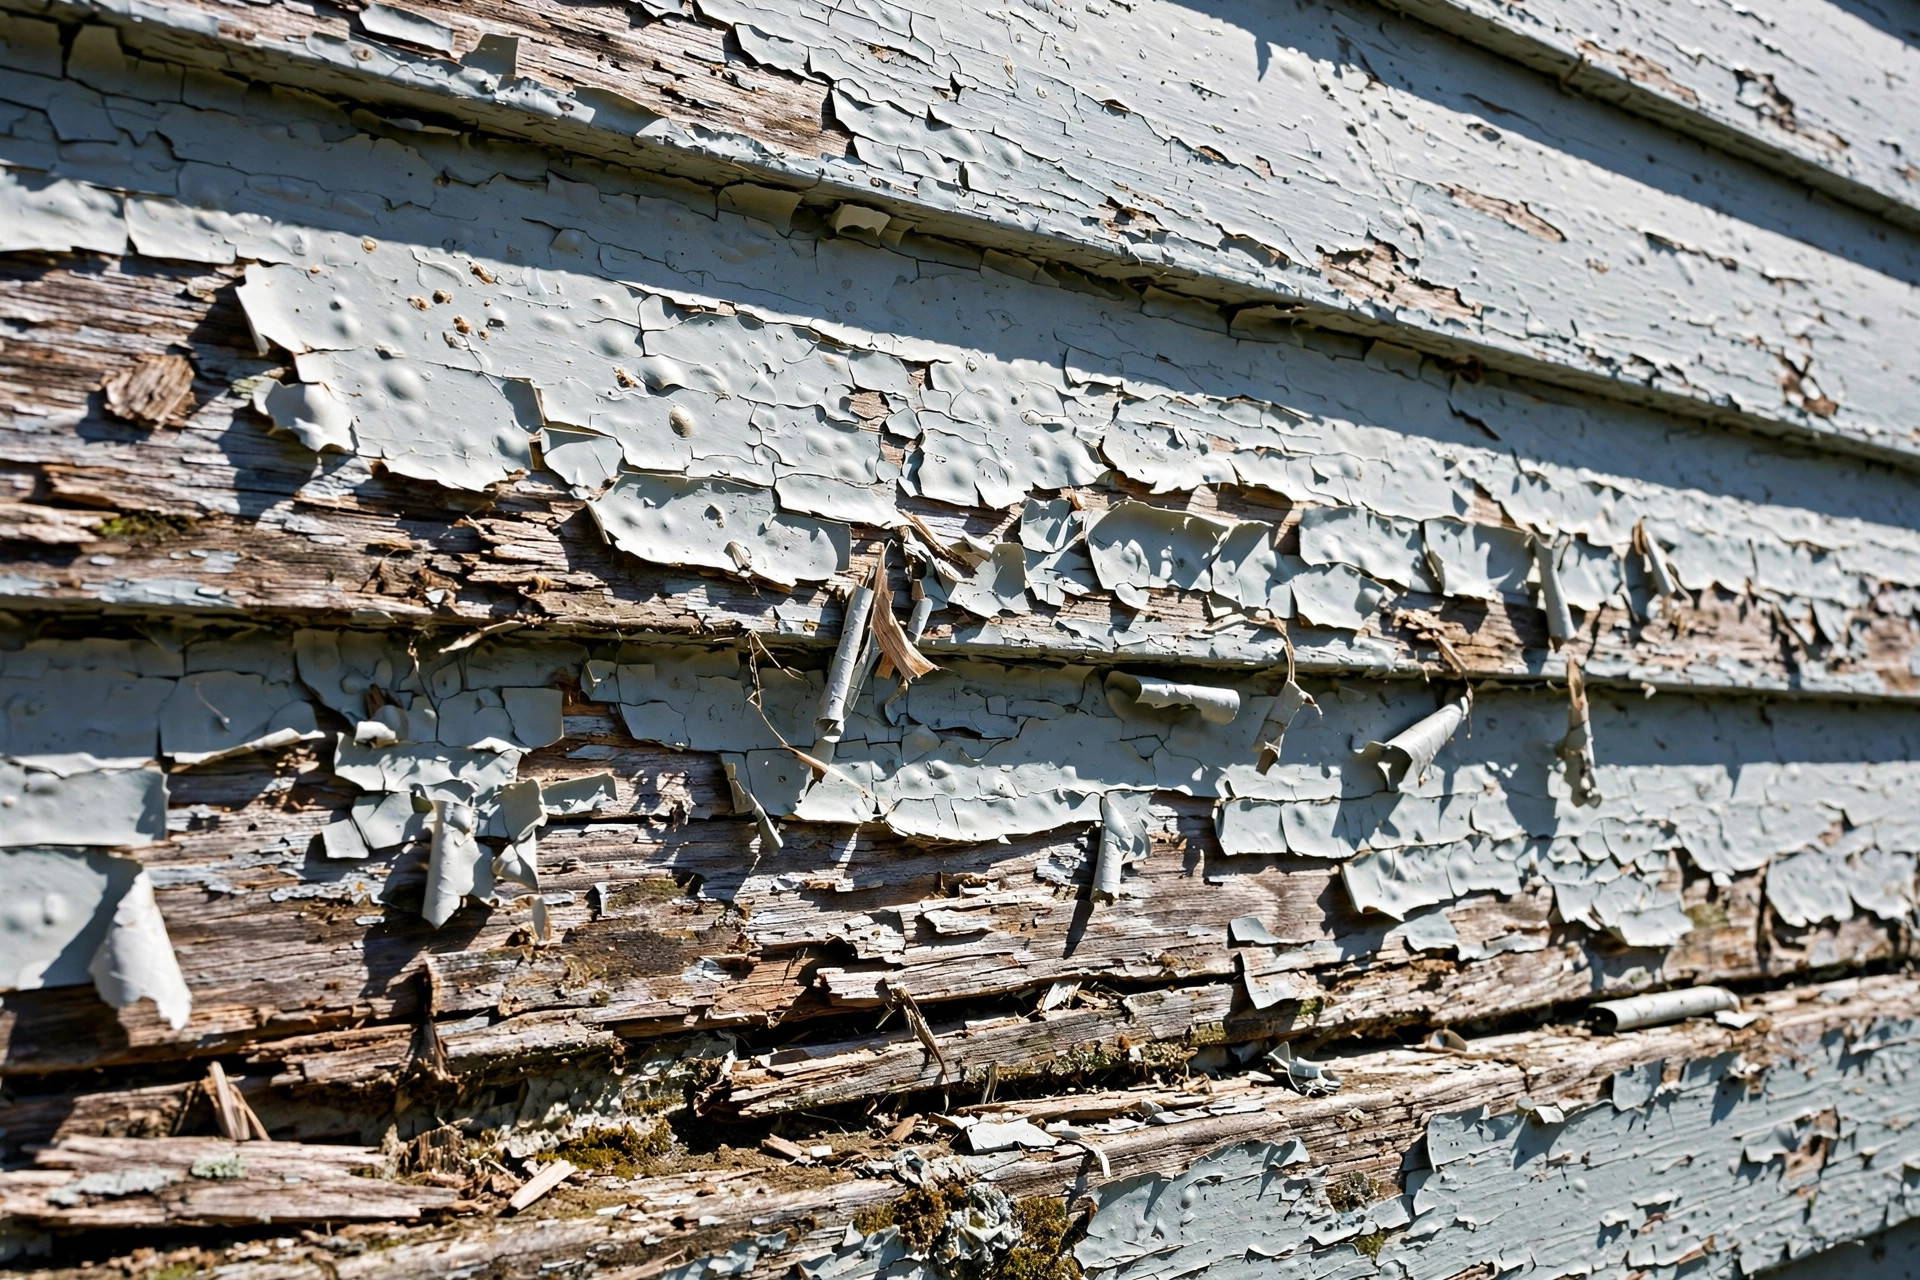
Paint blistering on exterior cladding follows many of the same rules as interior walls, but it deals with tougher outdoor conditions.
Exterior bubbles typically happen when:
- Painting is done in direct, burning sunlight, which causes the surface paint to bake before the solvents underneath can evaporate.
- Timber weatherboards were damp from rain or morning dew when the primer was applied.
- Moisture gets behind weatherboards through cracked exterior window seals or uncaulked board joins.
Before painting outside, check the weather forecast to avoid wet days, allow washed timber to dry out fully, and keep up with regular exterior maintenance.
When to Call a Professional Painter
Small bubbles caused by a localized scrape or an old nail patch are simple enough to fix on your own over a weekend. However, some painting problems require professional trade expertise.
You should consider calling a professional painter if:
- Bubbles keep returning: If you fix a bubble and it pops up again in the same spot, you likely have hidden structural dampness or an active moisture leak.
- Large wall sections are peeling: When paint peels off in big sheets across multiple rooms, the entire home was likely painted without proper primer over dusty plasterboard.
- Your home was built before 1970: Working around older homes carries a real risk of disturbing toxic lead-based undercoats, which requires certified safety equipment and containment.
- Ceilings are bubbling: Working overhead on high ceilings requires proper staging, skim-coating skills, and dustless sanding equipment to get a smooth, flat finish.
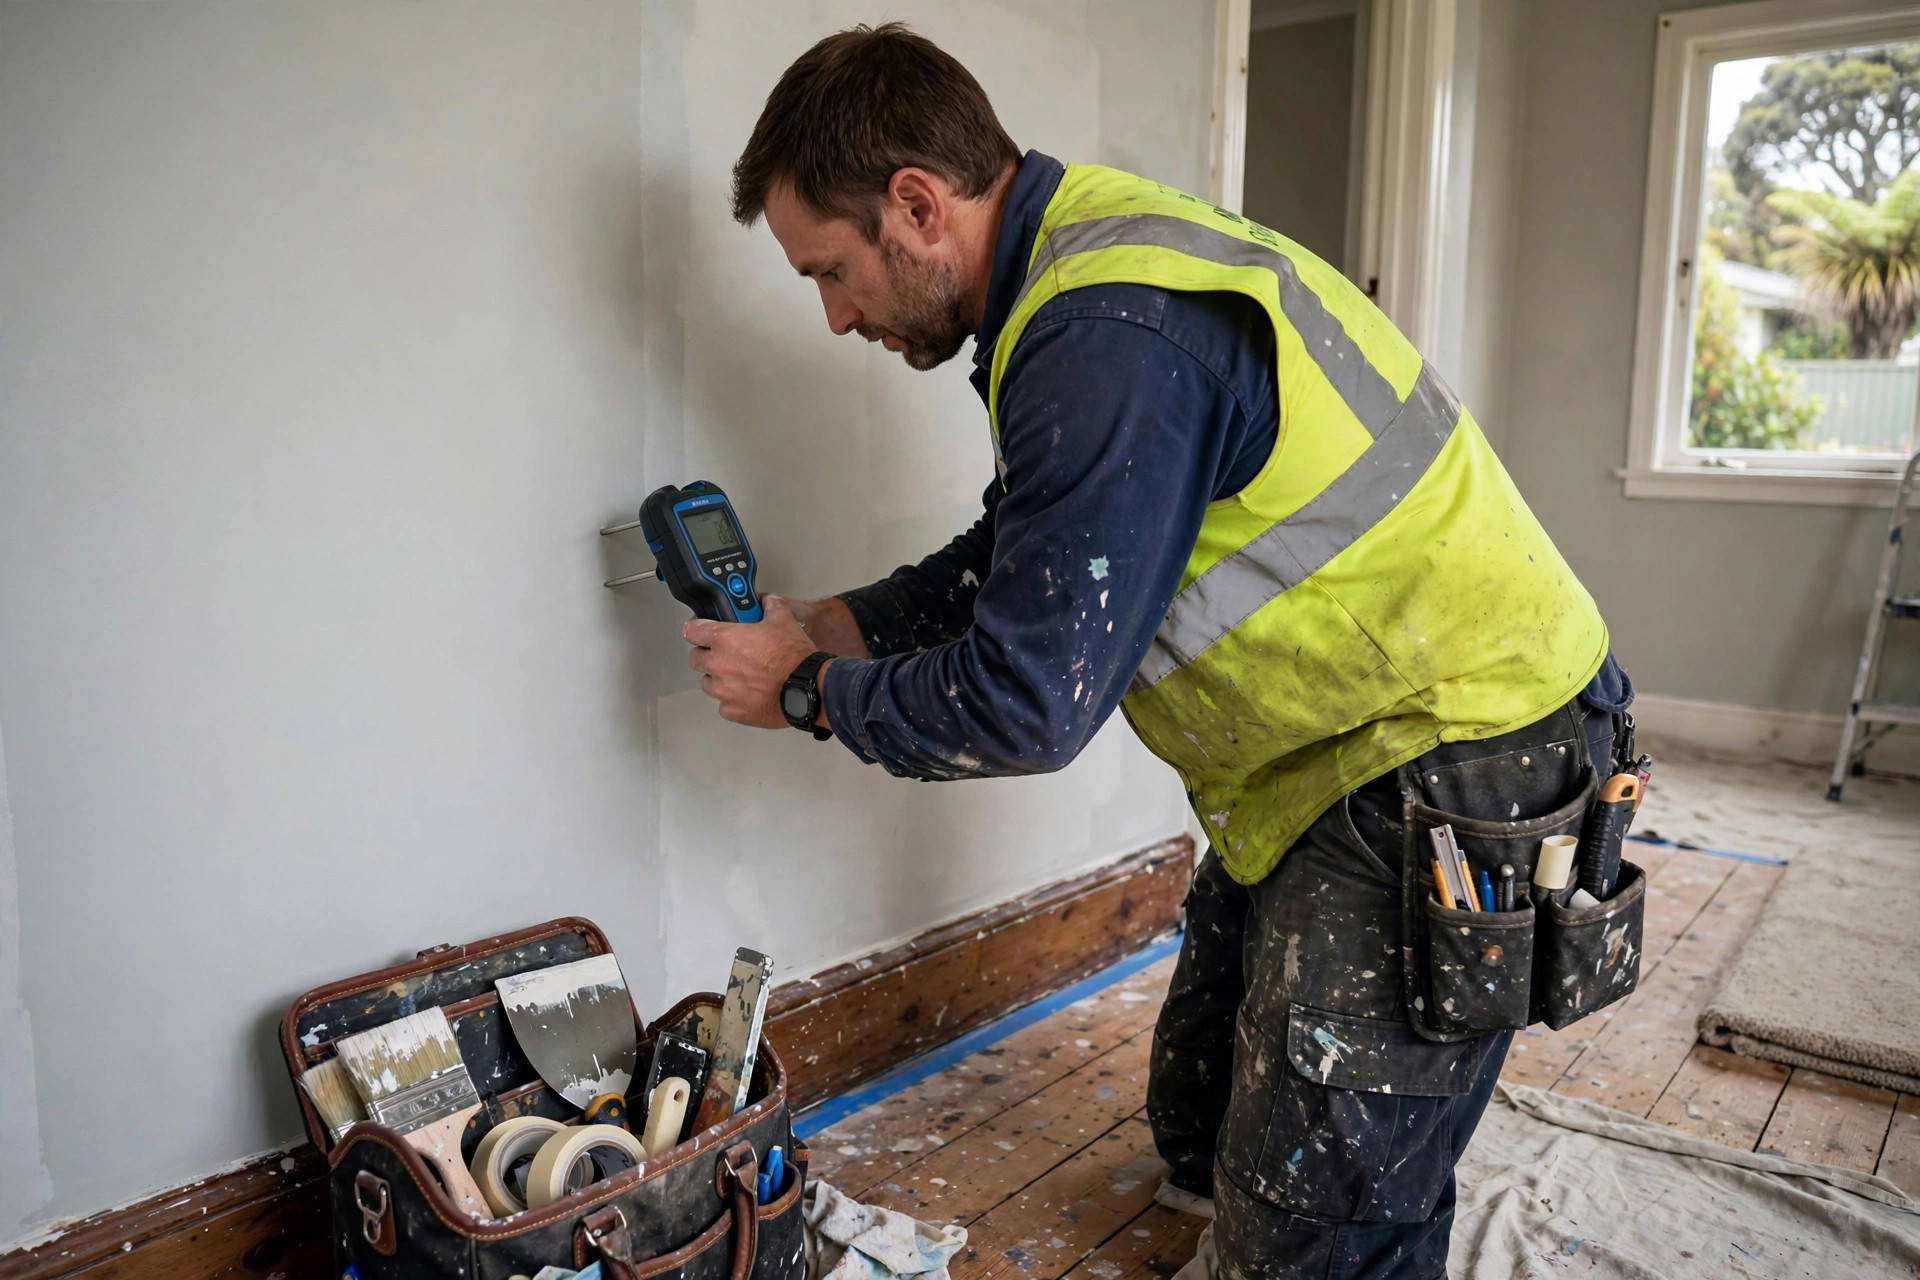
A qualified painter uses moisture meters to verify that walls are completely dry, carries specialized dust-extraction tools to keep your home clean, and knows how to select the right primers to ensure your new paint job lasts for years.
Paint Bubbling FAQs
Why is my paint bubbling on the wall?
Paint bubbles because moisture, grease, or dust prevented the paint film from sticking to the surface beneath it. Trapped air or water pushes the loose paint outward, forming a raised bubble.
Does paint bubbling always mean damp?
No. While moisture and high humidity are the most common causes, bubbling can also happen if you paint over a dirty wall, skip primer on bare plaster, use the wrong roller sleeve, or paint in extreme heat.
Can you paint over bubbling paint?
No. Painting over bubbles adds weight and wetness to an already weak paint film. The bubble will stretch, pop, or tear off on your roller. You must scrape off the loose paint, patch the spot, prime it, and then repaint.
How long after painting can bubbles appear?
Bubbles can show up within a few hours if you paint in high heat or trap moisture between coats. However, they can also take several weeks or months to appear if they are caused by slow indoor condensation or seasonal temperature changes.
How long should I wait before fixing a bubble?
If you notice bubbles in fresh paint, wait until the paint is completely dry before attempting to fix them (usually 24 hours). Scraping wet paint will tear the surrounding coating and create a much bigger mess.
What is the difference between bubbling and blistering?
In the painting trade, bubbling and blistering mean the same thing: detached pockets in the paint film. “Bubbling” often describes smaller air pockets caused by application errors, while “blistering” usually refers to larger pockets caused by moisture or heat.
Should I always use primer?
Yes. You should always use a dedicated primer on bare plasterboard, new GIB, drywall filler, repaired patches, and raw timber. Primer seals porous materials and gives the topcoat a solid foundation to stick to.
What paint is best for bathrooms to stop bubbling?
Use a specialized kitchen and bathroom paint formulated with moisture resistance and anti-mould additives. These paints create a tougher barrier that stops steam and condensation from penetrating the coating.
Need Help With Bubbling Paint in Porirua?
Dealing with peeling paint, ceiling blisters, or damp walls in your home? At Capital Painting Services, we help homeowners across Porirua, Whitby, and the wider Wellington region fix paint issues the right way. We find the source of the problem, complete clean surface preparation, and use proven trade coatings that stand up to local weather.
Contact our team today to arrange a free on-site assessment and quote.